RISO Printer (A4/A3)
A hand-operated, vertical printing press ideal for producing invitation, greetings or business cards, menus, flyers, labels, envelopes, napkins, coasters and more.
Model: Adana Printing Press

Details
Location
UNHG07 – University House, Ground Floor, Room G07 – Print Lab Makerspace
Induction Requirements
Level 1 General Induction
Level 2 City Makerspaces Induction
Technical support hours
Monday – Friday 9am-4pm
Overview
Access & Usage
As the Riso is a Class Red piece of equipment the physical operation of the printer is limited to Technical Staff. However, with access to the Makerspace, you will be able to be a part of the creative process and iterate your designs during production.
To access the Makerspace, you must complete two Inductions, the General Induction and the City Makerspaces Induction. These can be found via the Induction Catalogue:
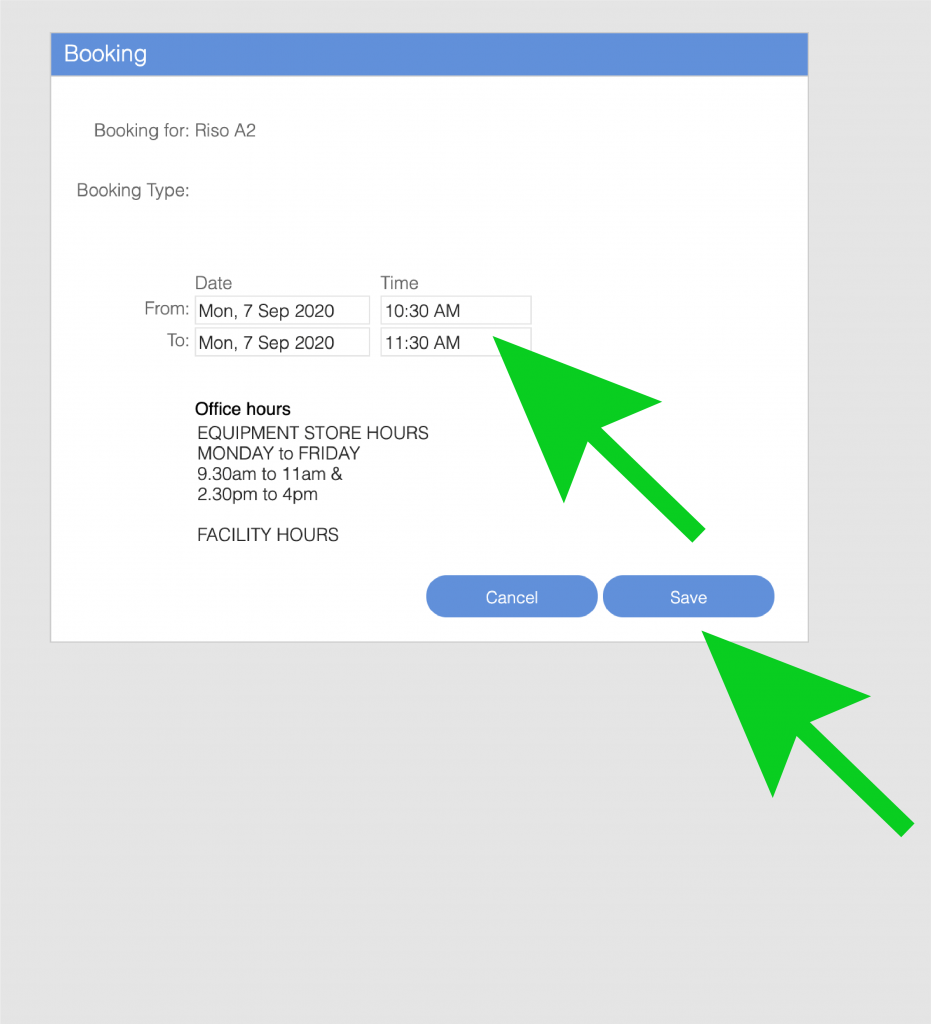
Once inducted, you must book in a timeslot – found under Day View in the Equipment Booking System – to use the RISO, please see:
Preparing & Payment of Riso Files
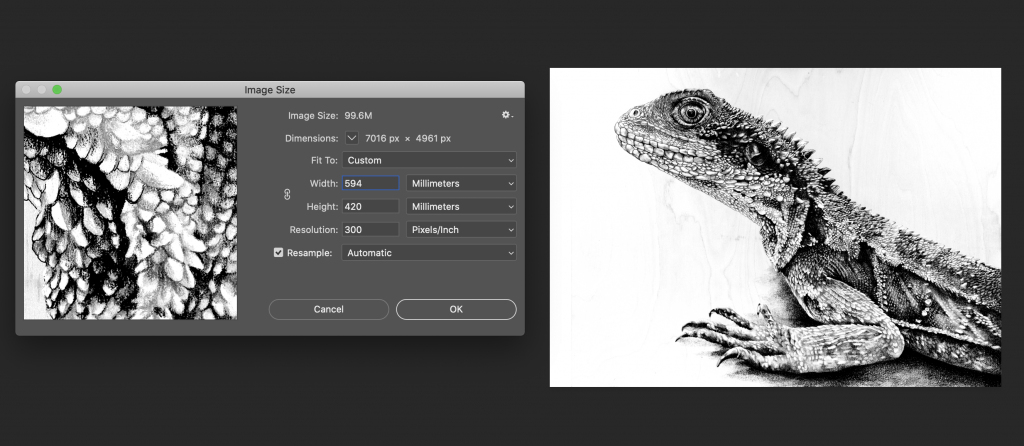
1. Check file is the correct size – The recommended size is A4 (420 x 594mm)
Minimum size A3 (297 x 420mm), maximum is A4+ (432 x 635mm)
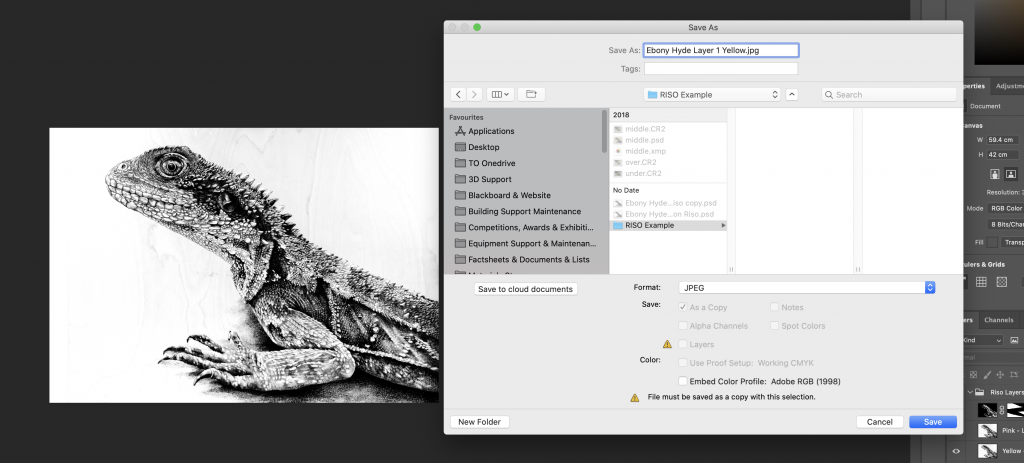
2. Name each layer clearly e.g. Layer 1 – Blue.jpg , Layer 2 – Pink.jpg
Note: (layer 1 = bottom/first layer)
IMPORTANT – Each layer should be saved as a greyscale image. 100% black (HEX000000) will print at maximum intensity, 100% white (HEXFFFFFF) will be left blank. Anything in-between e.g. 50% grey (HEX7F7F7F), will be printed at that percentage.
| Layer Colour | CMYK | HEX Code | Print Intensity |
|---|---|---|---|
| Black | 0, 0, 0, 100 | 000000 | 100% |
| White | 0, 0, 0, 0 | FFFFFF | 0% |
| 50% Grey | 0, 0, 0, 50 | 7F7F7F | 50% |
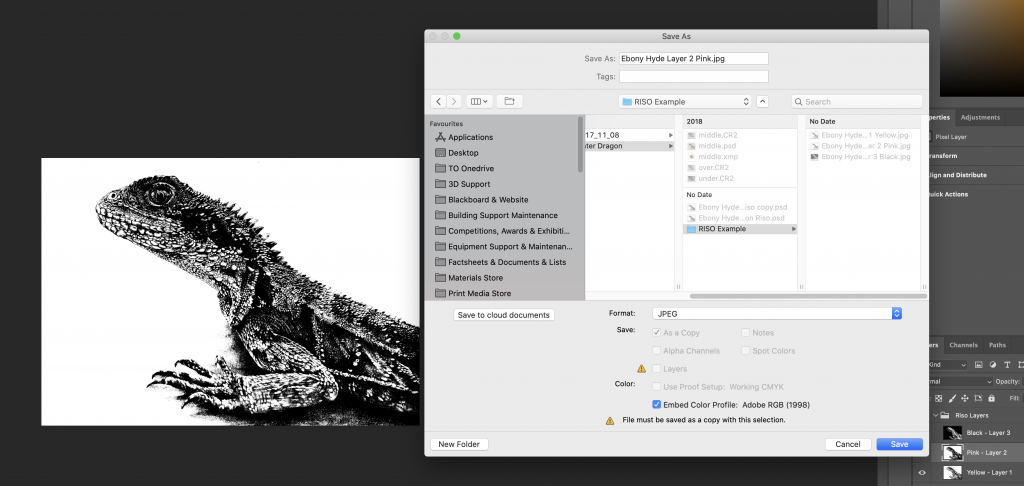
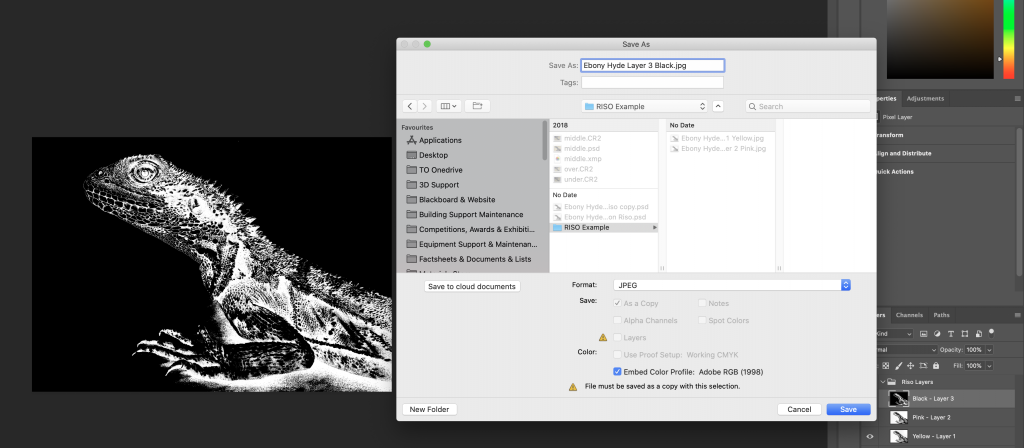
IMPORTANT – No more than 80% of any one layer can be printed at 100% intensity (e.g. a big black box), this causes the print to get stuck inside the machine due to such a large amount of ink being placed down.
3. Use the Riso Print Submit Form to upload your file(s)
4. Fill in your details on the form, use the cost calculator to work out pricing and upload your files

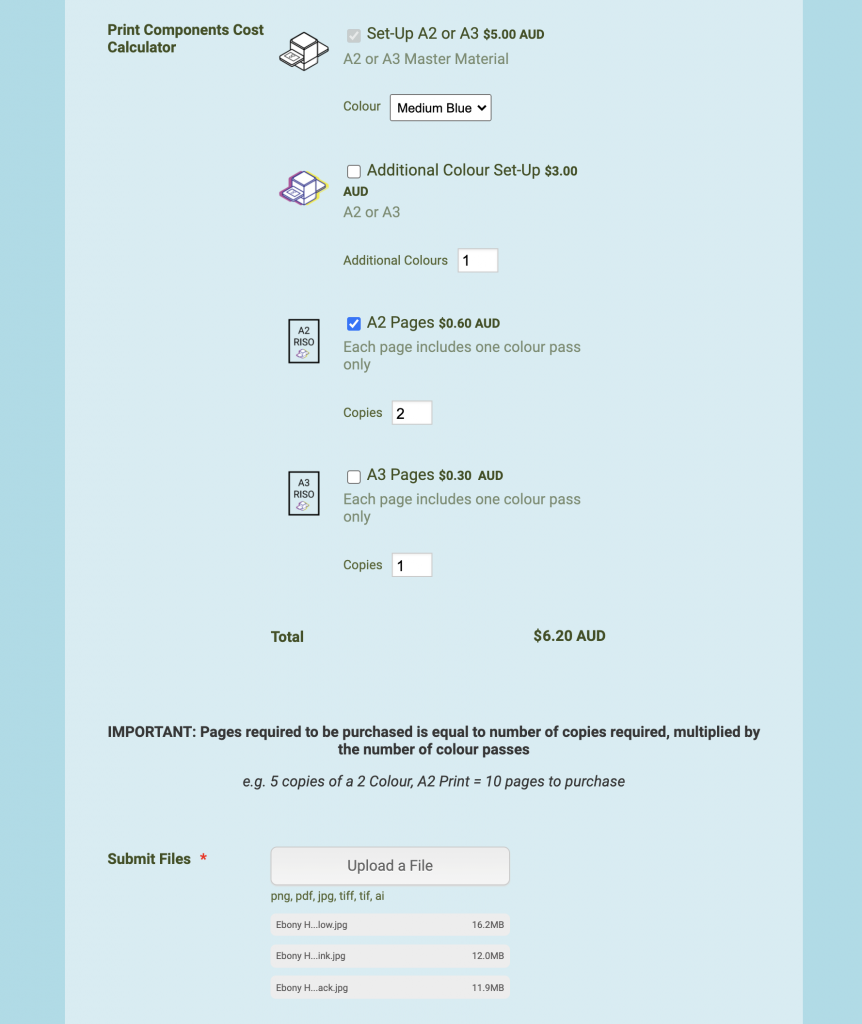
5. Make the payment for your print through the Print Media Payment Portal (Riso materials are located at the bottom of the portal page)
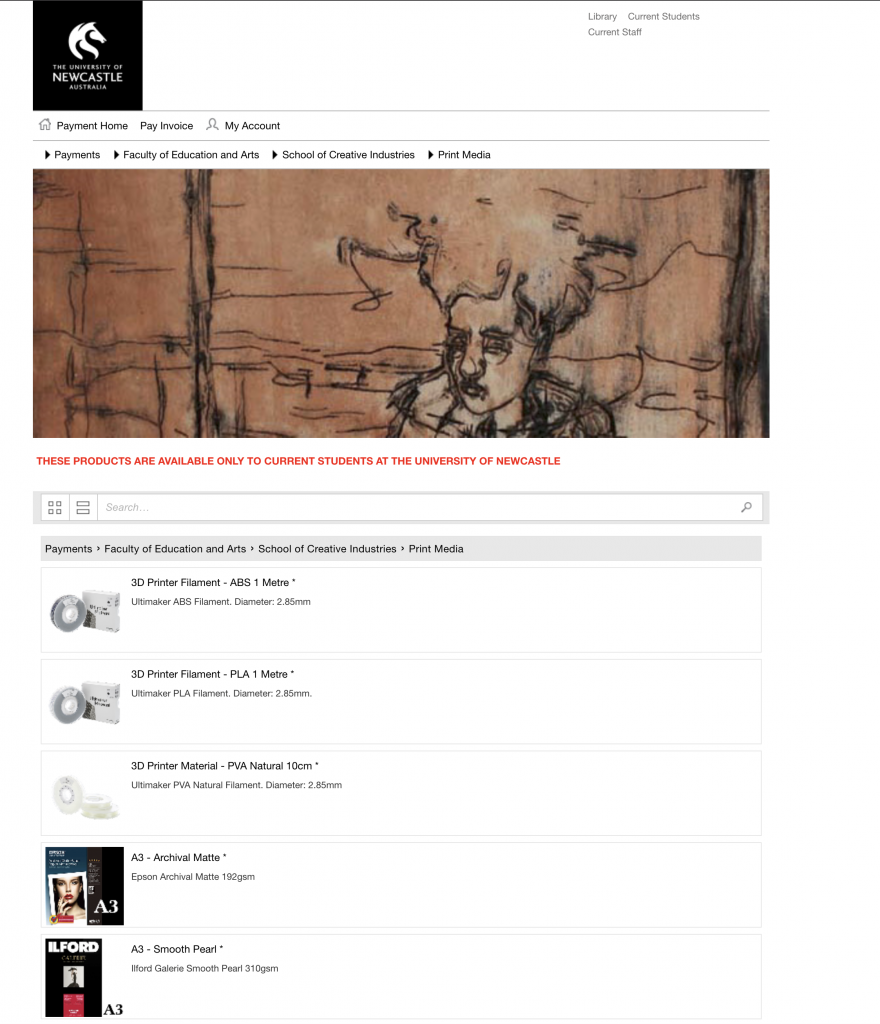
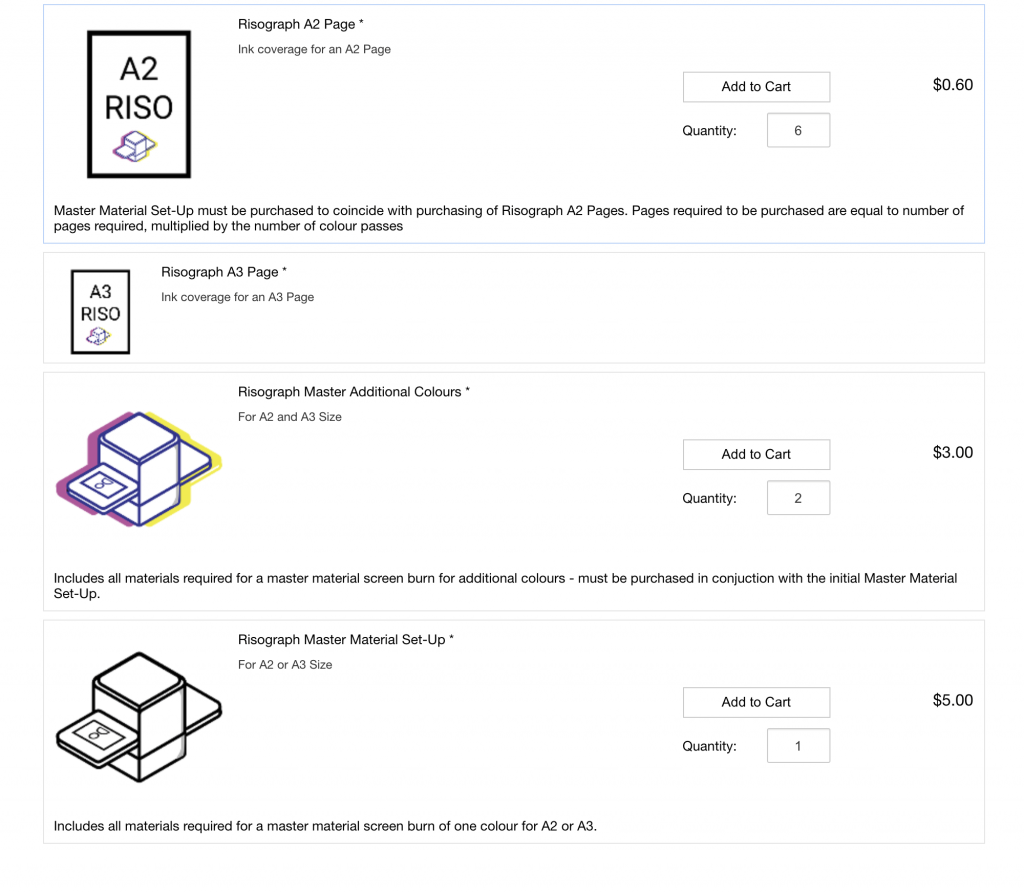
6. Upload the receipt of payment (screenshot or downloaded invoice) from the Print Media Payment Portal and submit your Riso Print Job

7. Book in a time slot to be there for the process:
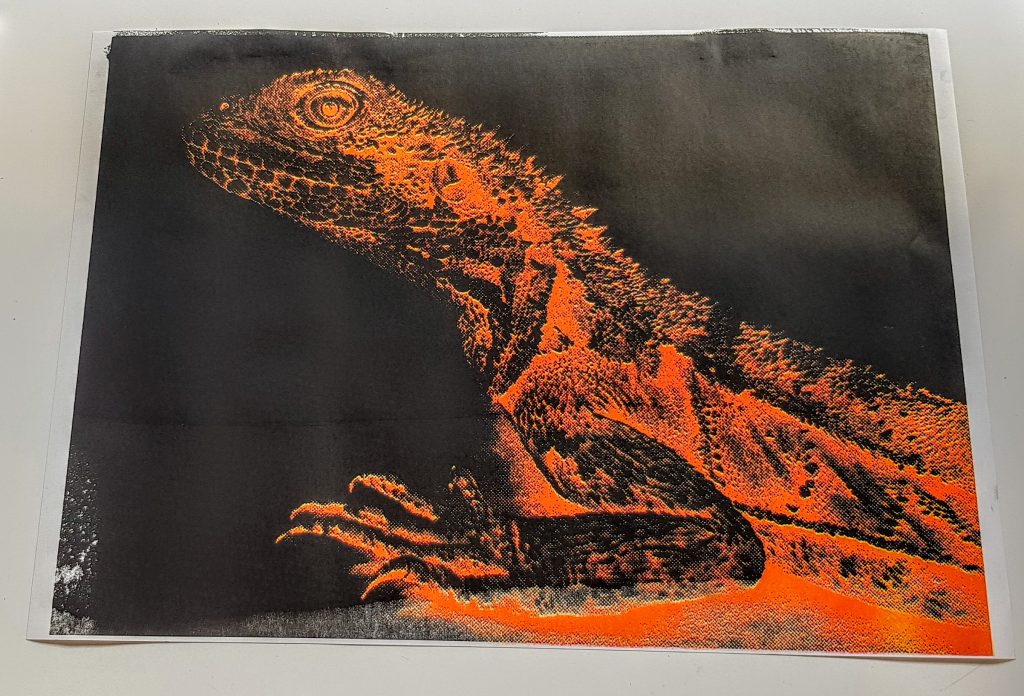
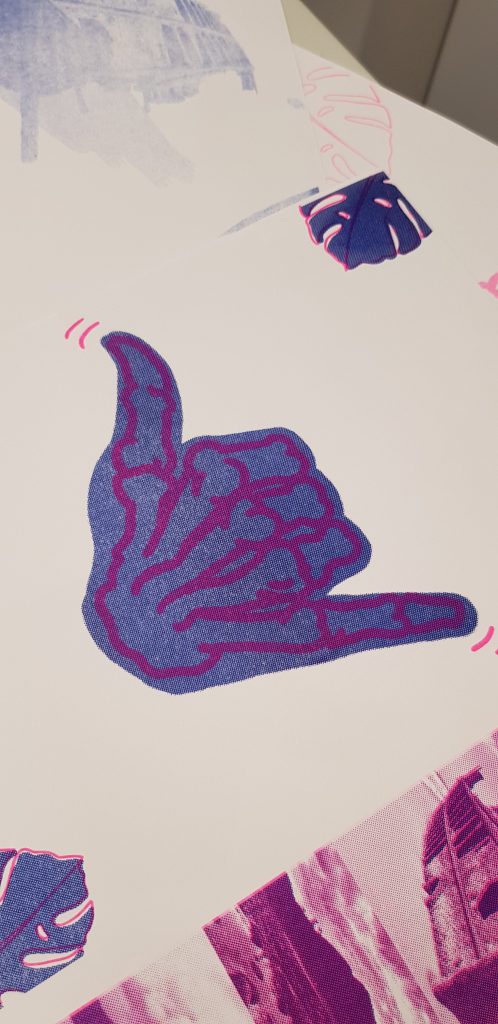


Booking & Submission Uploads
Equipment is available after required inductions are complete and privileges have been applied to your account.
Store Opening Hours
| Day | Open Hours |
|---|---|
| Monday | 10:00 am – 4:00 pm |
| Tuesday | 10:00 am – 4:00 pm |
| Wednesday | 10:00 am – 4:00 pm |
| Thursday | 10:00 am – 4:00 pm |
| Friday | 10:00 am – 4:00 pm |
| Weekends | Closed |
Technical Specifications
Ink
There are four colours available: black, medium blue, fluorescent pink & yellow.
- Black – HEX 000000
- Medium Blue – HEX 3255A4
- Yellow – HEX FFE800
- Fluorescent Pink – HEX FF48B0
Paper
Paper Weight (GSM): 120GSM
Maximum size: 42
Minimum size: A3
Common Problems
Misalignment
Roller marks
Further Reading
Stencil Wiki – All possible colours available on RISO Machines
Rizzeria – Sydney Based RISO Print Company
Needing our Help?
The fastest way to get in contact with our technical team is to log a technical ticket. We will get back to you as soon as we can!


