Photo Studio
The photo studio in University House is a bookable space that can be used to produce high quality photographs using professional lighting equipment.

Details
Location
UNH147 – Level 1, Room 147, University House
Induction Requirements
Level 1 General Induction
Level 2 Photography Induction
Access Hours
Monday – Friday 9:30am-4:30pm
Weekends Closed
Public Holidays Closed
*Card access and relevant inductions are required
Overview
Access & Usage
To access the Photo Studio you must complete:
- The Level 1 General Induction
- The Level 2 Photography Induction*
These can be found via the Induction Catalogue:
*For more information about on receiving a specialist induction click here.
It can be split into two rooms at peak usage times:
- Door End – Backdrop Photo Roll
- Window End – Curtains able to be drawn to use natural light

Available Equipment
The following equipment is fixed equipment in the Photo Studio and can be accessed on booking.
- Black, white, grey and green photo rolls
- Continuous soft-box studio lighting
- Wireless flash kits
- Product table
- Vertical product copy stand
- Manual turntables
You may bring your own camera into the Photography Studio to use, please note not all flash units and accessories may work with your system. The UNH147 Photo Studio is designed to primarily work with Canon systems.
Additional cameras can be booked to work within the Photo Studio, please see:
Booking the Photo Studio
Once your inductions have been completed and access is approved (this may take a couple of days) you will be able to book equipment and rooms using the Booking Point system.
It can be split into two rooms at peak usage times:
- Door End – Backdrop Photo Roll
- Window End – Curtains able to be drawn to use natural light
Photo Studio Tethered Capture
Pre-Requisites
You must complete two inductions to be able to access the Photo Studio. The Level 1 General Induction and the Level 2 Photography Induction. These can be found via the Induction Catalogue:
Book a timeslot to secure studio usage:
Set Up
Step 1 – Identify Your Connection Type
The most common connector ports on your camera are likely be one of the three most common, these are:
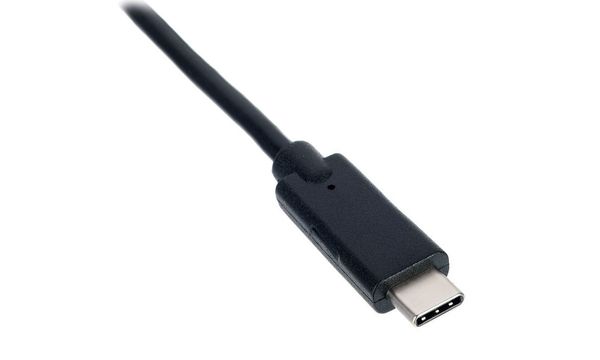


Take note of what the port type on your camera is and let technical staff know when you enter the room. Dedicated studio cables are provided for these three types, we may not be able to provide a cable for other connection types.
Step 2 – Sign in
Sign into the computer using your student credentials
Step 3 – Choose your tethering program


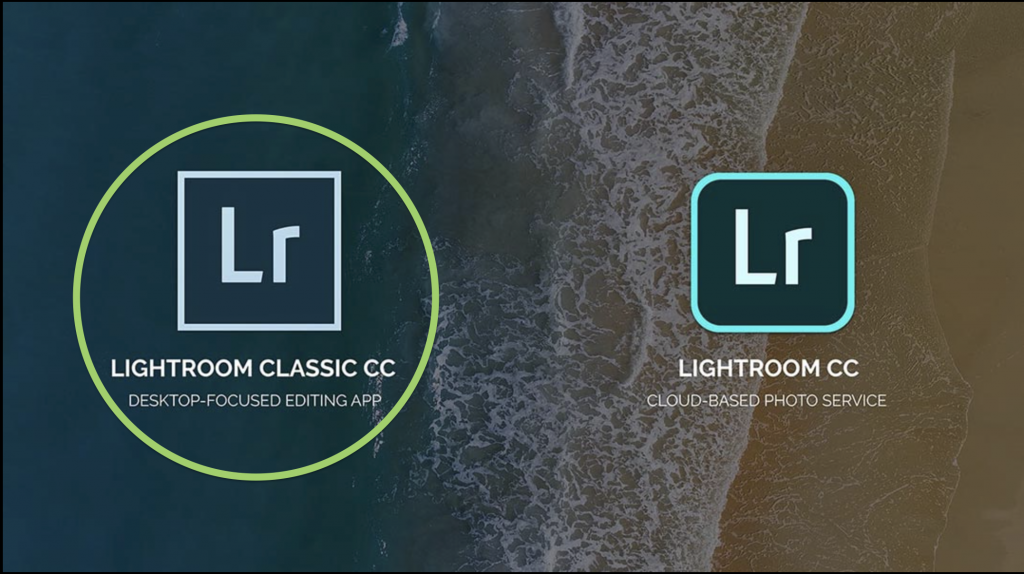
Each has its own advantages and disadvantages, discuss with your tutor or technical staff for more information.
Lightroom Classic
Recommended
For Lightroom Classic users:
- Open Lightroom Classic and sign in to your Adobe account using your student credentials
- Go the Lightroom menu File > Tethered Capture > Start Tethered Capture
- Select save location, press ok and wait for Lightroom to detect your camera
- Begin shooting, using Lightroom to review your files
Canon EOS Utility
Does not work with non-canon cameras
For Canon EOS Utility users:
- Open Canon EOS Utility
- Select Live View Shoot, adjust settings and save location
- Begin shooting, using Preview to review your files
Dragonframe
For advanced users only. Please seek technical staff for assistance if you have not used this software before in animation electives.
Further Reading
Further Reading
Needing our Help?
The fastest way to get in contact with our technical team is to log a technical ticket. We will get back to you as soon as we can!
